Power BI can connect to many data sources including Excel. In the previous parts of this 4 part series, we setup the automation to populate an Excel master data file in SharePoint. Next part is to connect the Power BI service to the master Excel file.
The Power BI Service is the online portion of Power BI and for this example there is no need to download the Power BI desktop application.
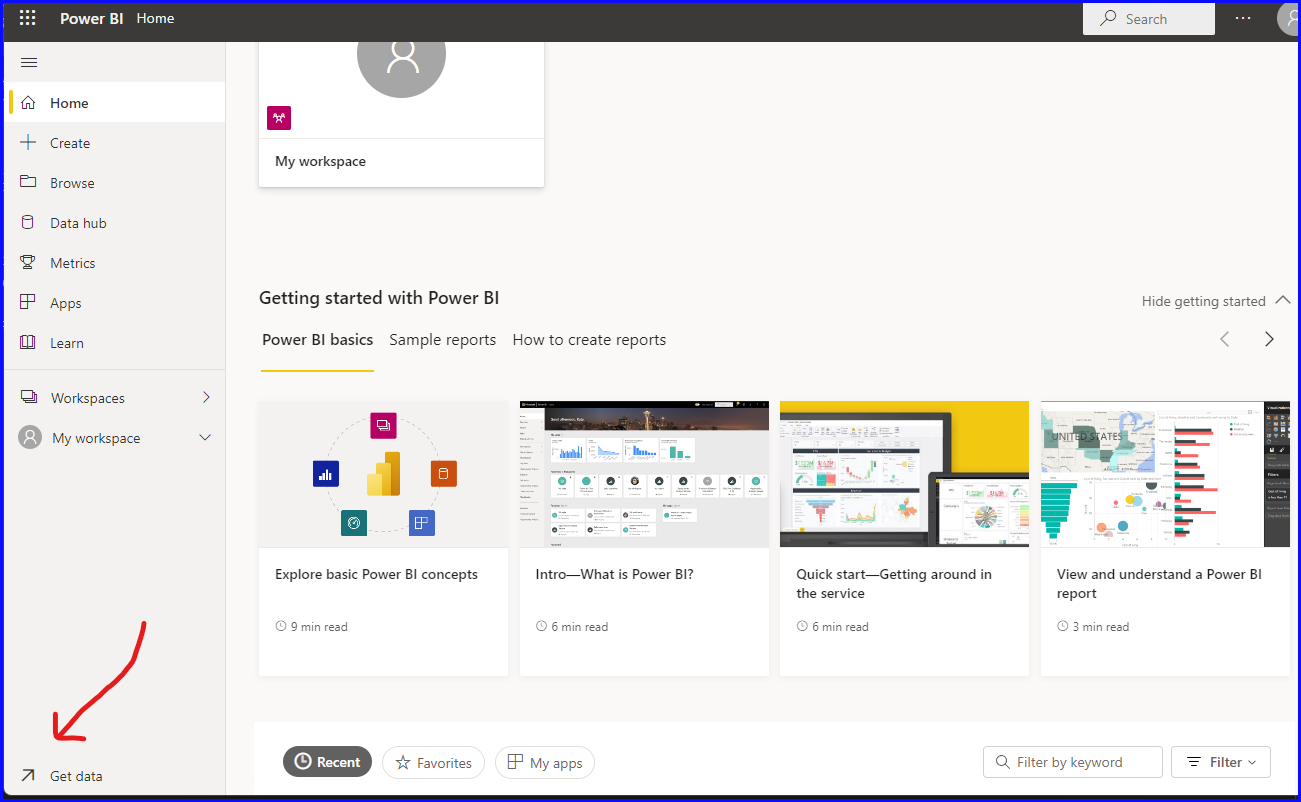
Step 1: Log into the Power BI web Service from your M365 account and click on Get Data:
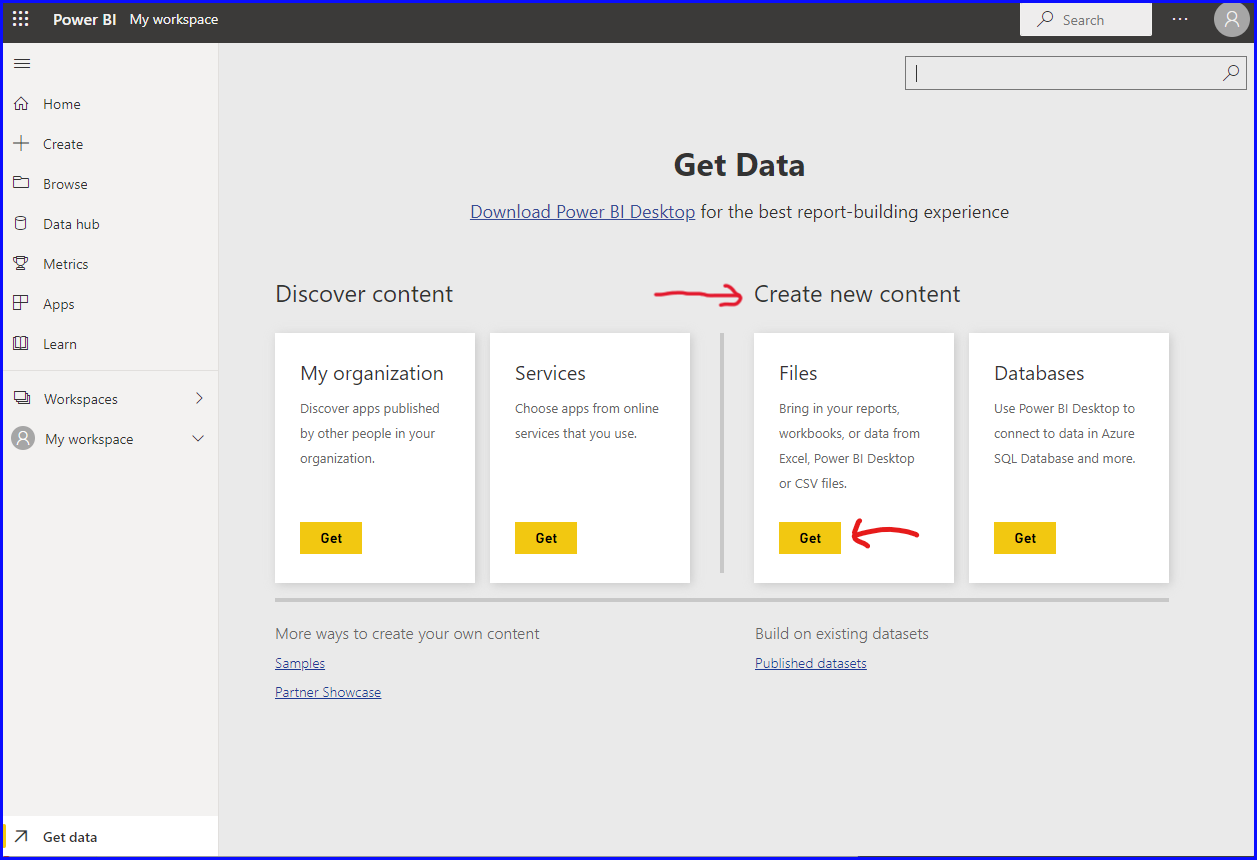
Step 2: Under Create New Content, select Get Files (no need to download the Power BI Desktop):
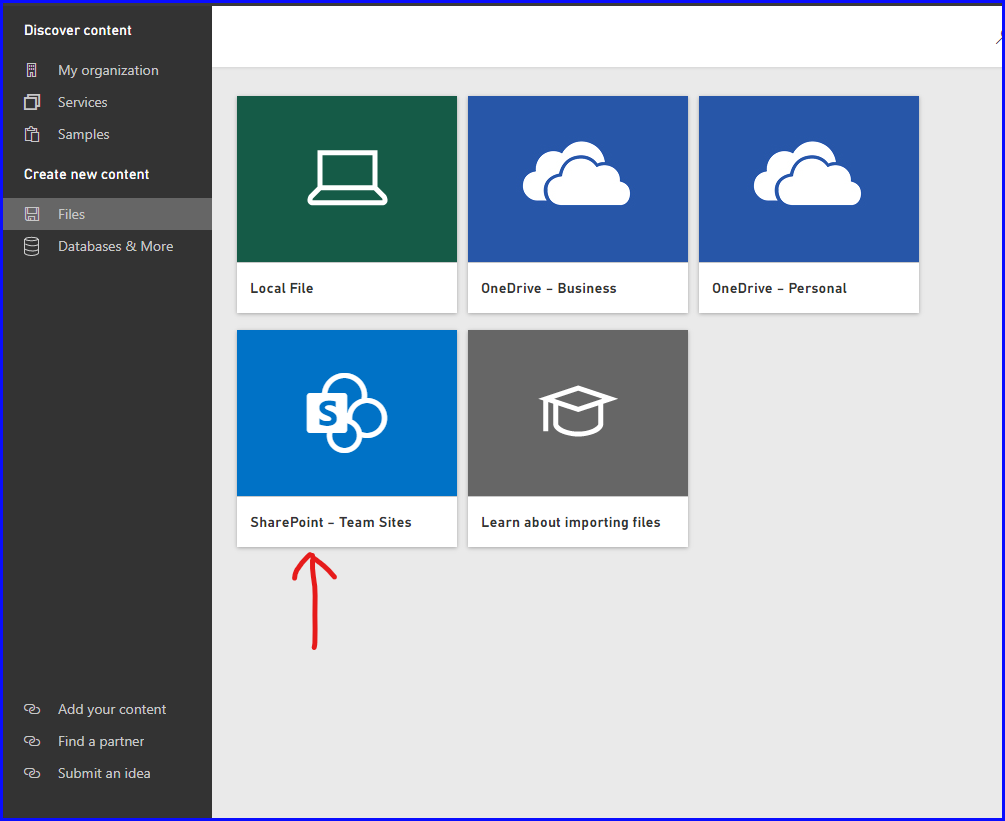
Step 3: Under Create New Content, select Files, and then select SharePoint – Team Sites:
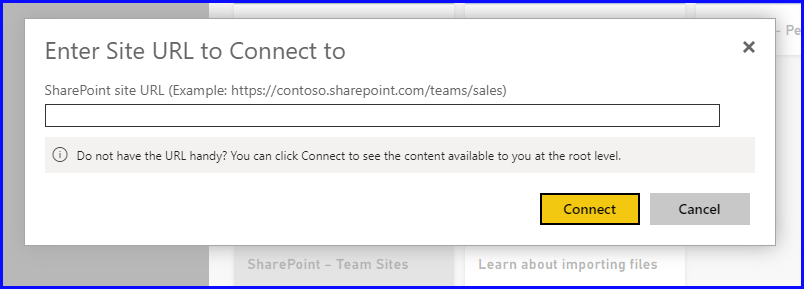
Step 4: From you browser, go to the home page of the SharePoint site with the Excel file you want to connect to, copy the full address, and paste it in the box, then click “Connect”:
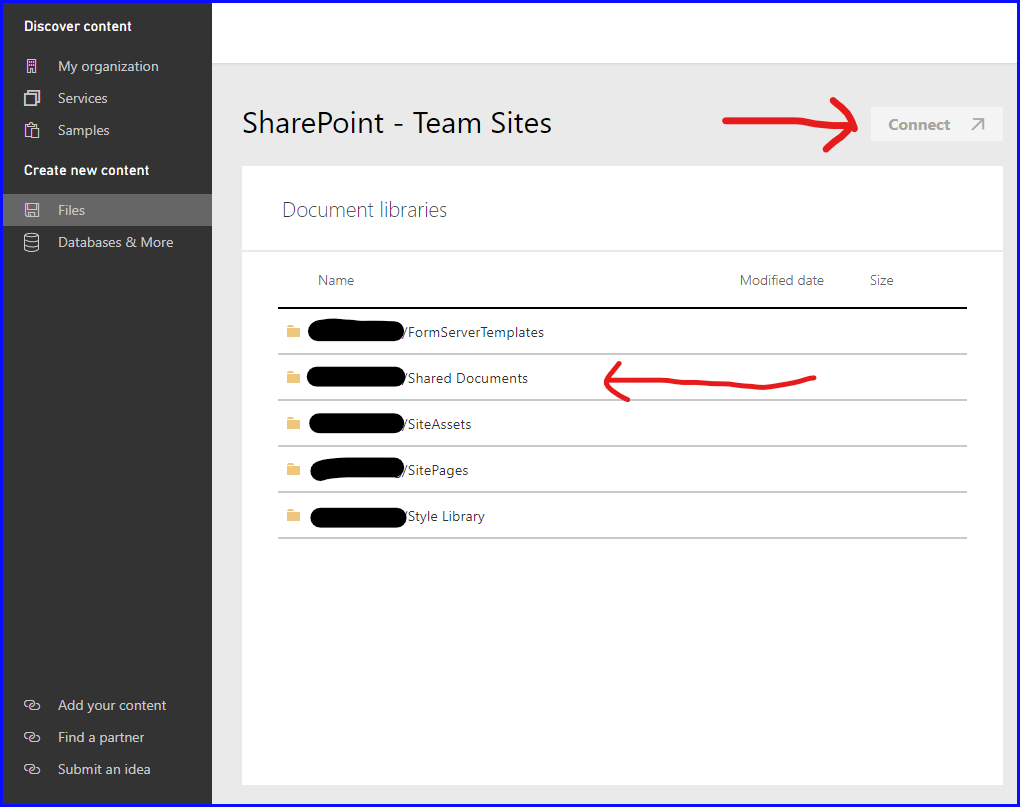
Step 5: Next select the Shared Documents folder from your SharePoint site, it will take you to your folder list, select the folder and then the file you want to connect to and then click “Connect”:
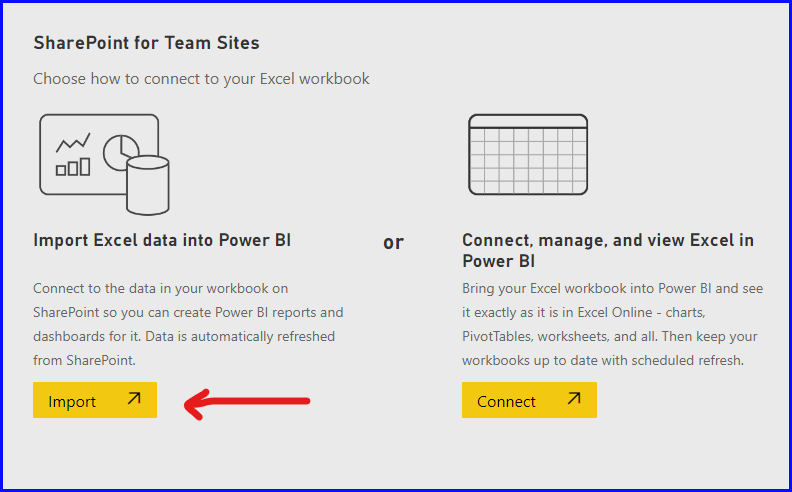
Step 6: In this example, select to “Import” the Excel data into Power BI:
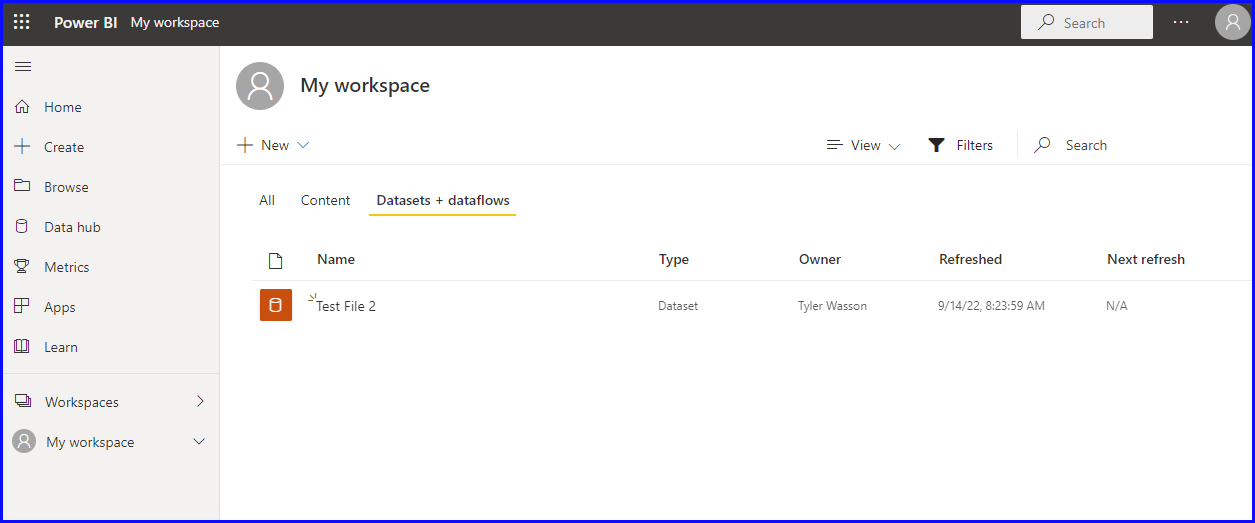
Step 7: The file should now be connected to the Power BI Service:
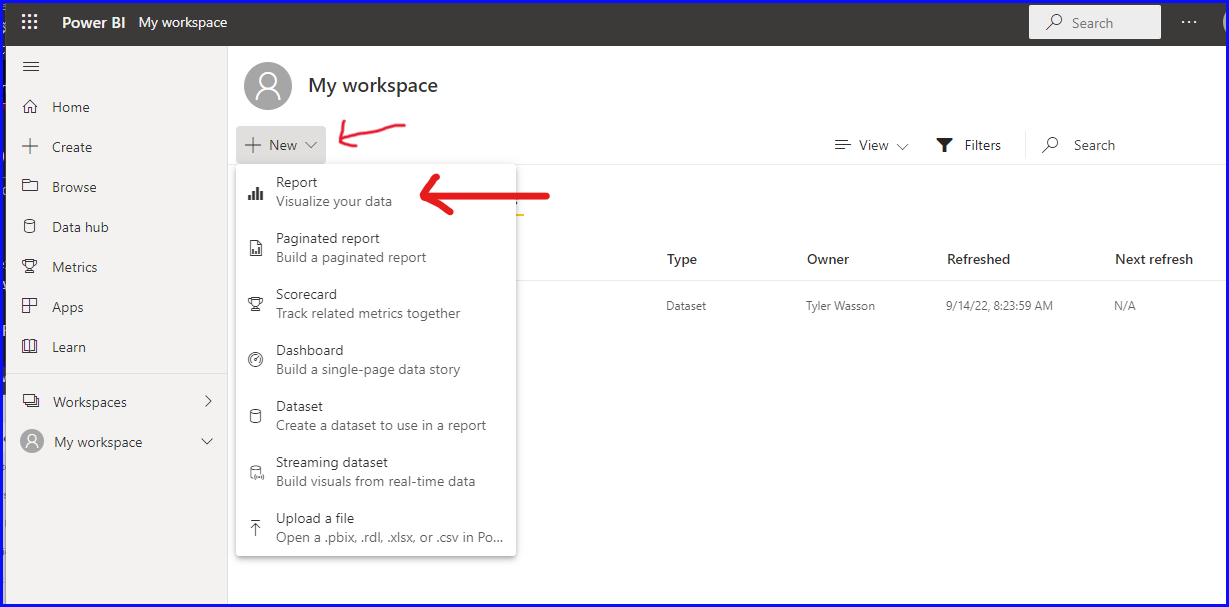
Step 8: Select “New” and “Report” for this example:
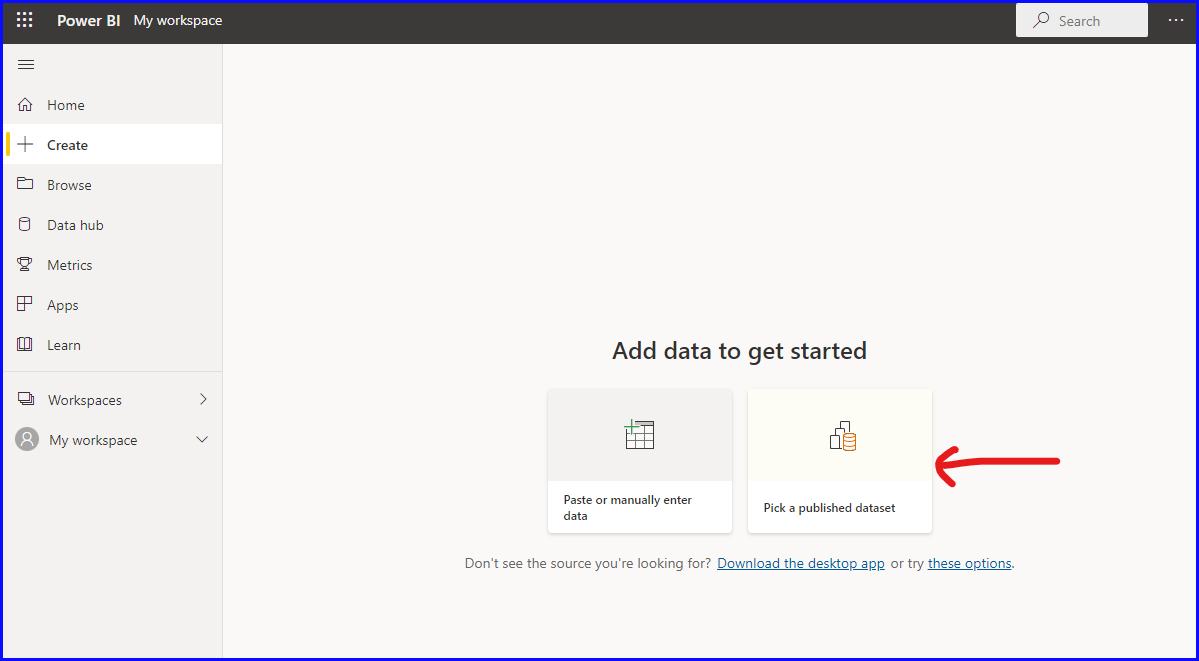
Step 9: Select “Pick a published dataset”:
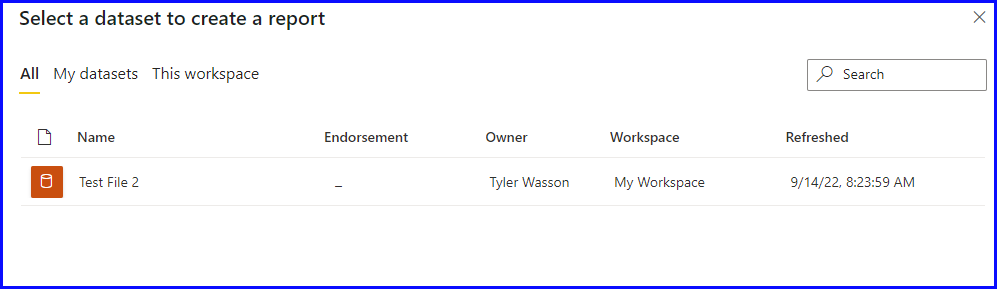
Step 10: Select the Excel file that was just added:
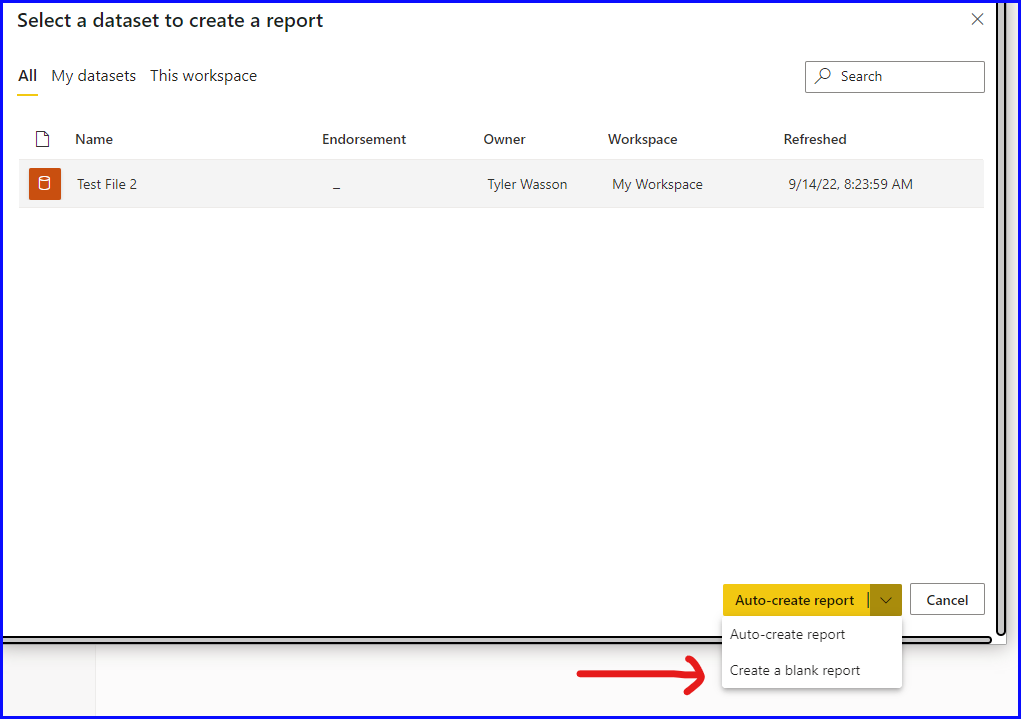
Step 11: Click on the button that says “Auto-create report” and select “Create a blank report”:
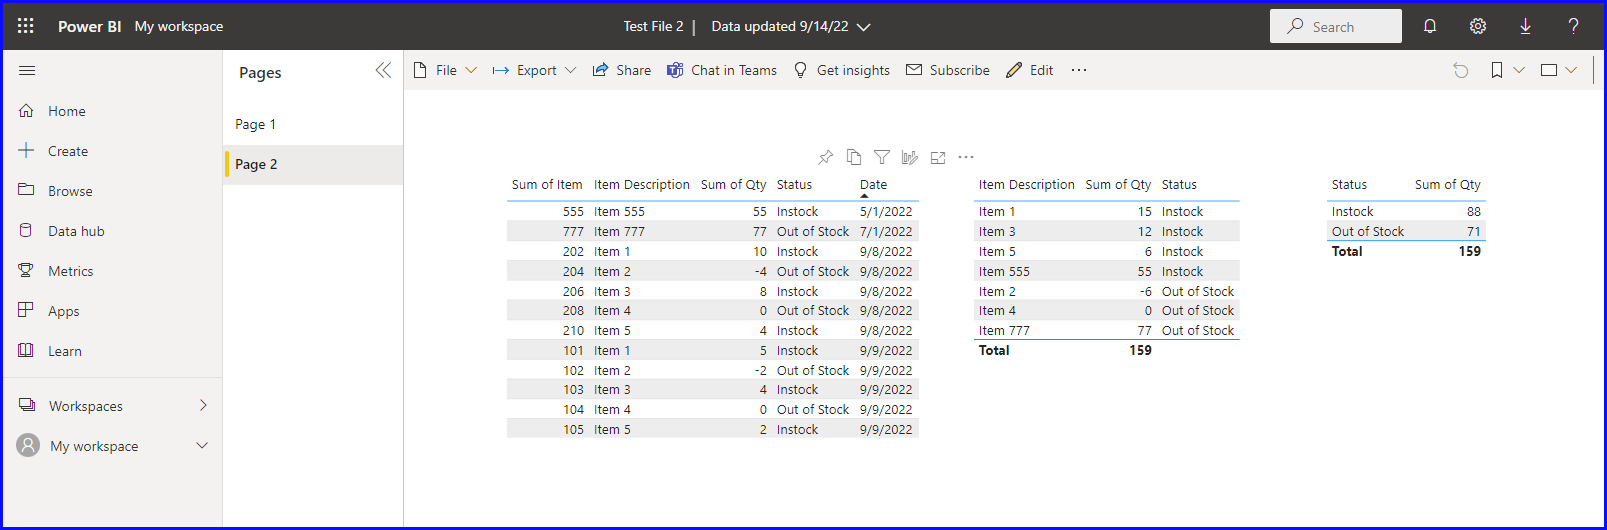
Step 12: Build out a report from the dataset:
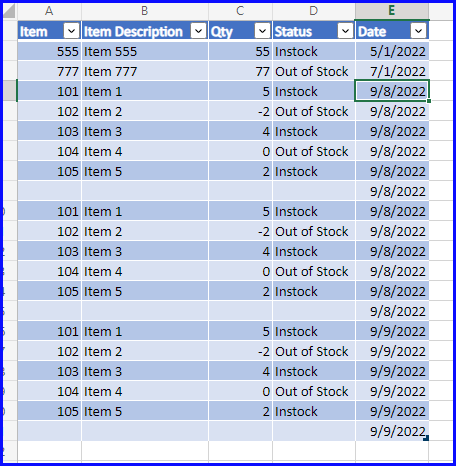
Below is the data from the Excel file for comparison:
Click on the links below to go to each blog post in the series:
Series Summary: Using Power Automate to Move, Rename, and Copy Excel Content to Another Excel File-Click Here!
Series 1 of 4: Copy Email Attachment to SharePoint and Rename-Click Here!
Series 2 of 4: Copy Excel Content (Dynamic) from Excel file to Another-Click Here!
Series 4 of 4: Manage Power BI Data Refresh-Click Here!